Inkscape Quick Tip #5

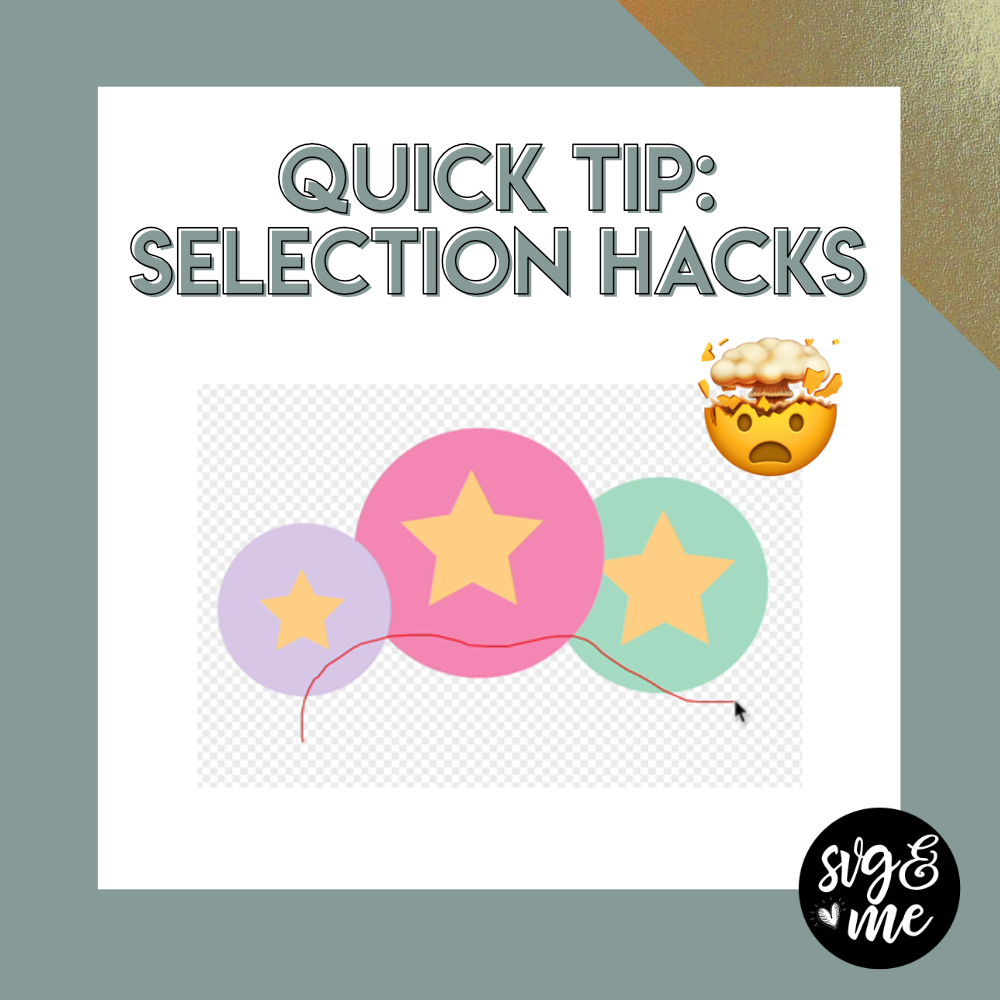
Phew! Finally no more wasting time duplicating objects one by one…talk about a time saver!

We use a flag SVG in this example, but just think about how many different uses there are for this hack…making stickers, making labels, polka dots, stripes…the list goes on and on.

Not a member yet? Join the SVG & Me lifetime membership to access 100+ videos like this one!

Which one was your favorite hack I shared this week?:

Have you attended all of our free trainings?

(Click the image preview below to register now!)

Inkscape Quick Tip #4

Bet you never would have believed me if I told you that you could make a seamless pattern in less than 5 minutes BUT NOW YOU CAN!

I hope you loved today’s hack and if you want to learn more about designing your own patterns I teach you how to create seamless patterns with clipart in our Inkscape course!

Not a member yet? Join the SVG & Me lifetime membership to access 100+ videos like this one!

…and don’t miss the other Inkscape hacks we already shared:

Which of these tutorials would you LOVE to watch?

Members get instant access to all of these and so many more in our membership!

Inkscape Quick Tip #3

Don’t you absolutely love this color block effect that you can apply to both shapes and text in Inkscape?

If you’re a member, I share a longer extended version of this video with even more tips on how to use this technique (including a really cool mosaic effect) so head over to the membership site and check out the tutorial I posted there!

Not a member yet? Join the SVG & Me lifetime membership to access 100+ videos like this one!

…and don’t miss the other Inkscape hacks we already shared:

Inkscape Quick Tip #2

🤯 Quick Inkscape Hack #2

Finally! An easy way to convert single color SVG designs into multi color designs in just seconds with the awesome Path > Split Path feature from Inkscape. Total time saver, right?

These are perfect examples of why I recommend crafters learn to use Inkscape for creating SVGs because it is just so much more powerful and will save you SO MUCH time compared to using a program like Cricut Design Space.

Stay tuned for another hack tomorrow!

Are you hooked on creating your own SVGs and want to learn more now?

Check out our free training below or join our lifetime membership and find out why members say it is “THE BEST course for learning to use Inkscape”

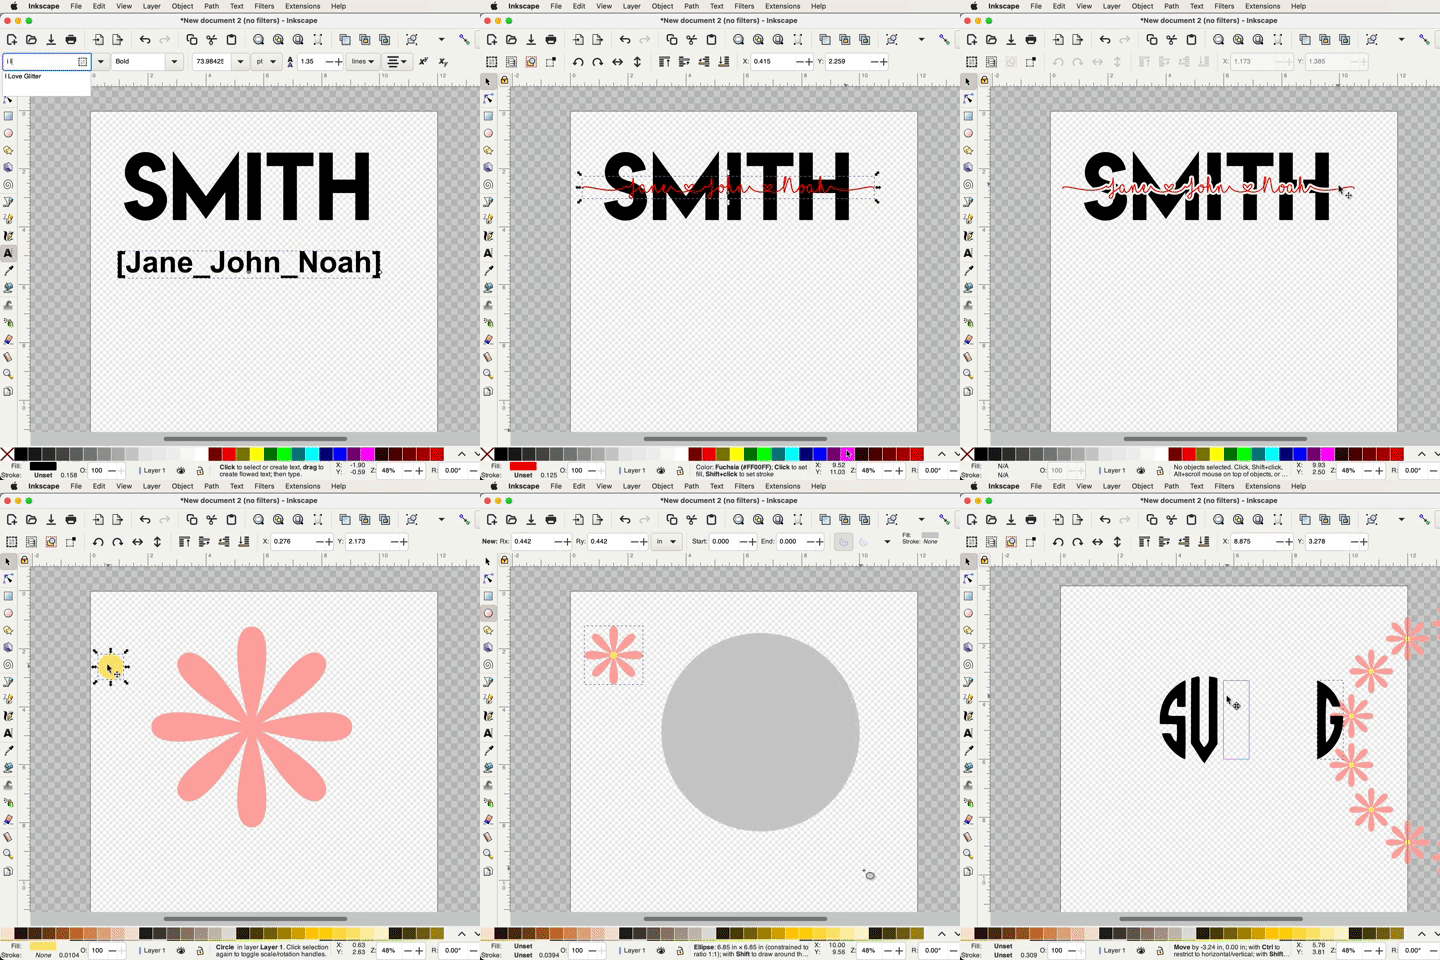
Want to Learn How to Make a Knockout Name or Custom Monogram Frame?

Inkscape Quick Tip #1

🤯 Quick Inkscape Hack #1

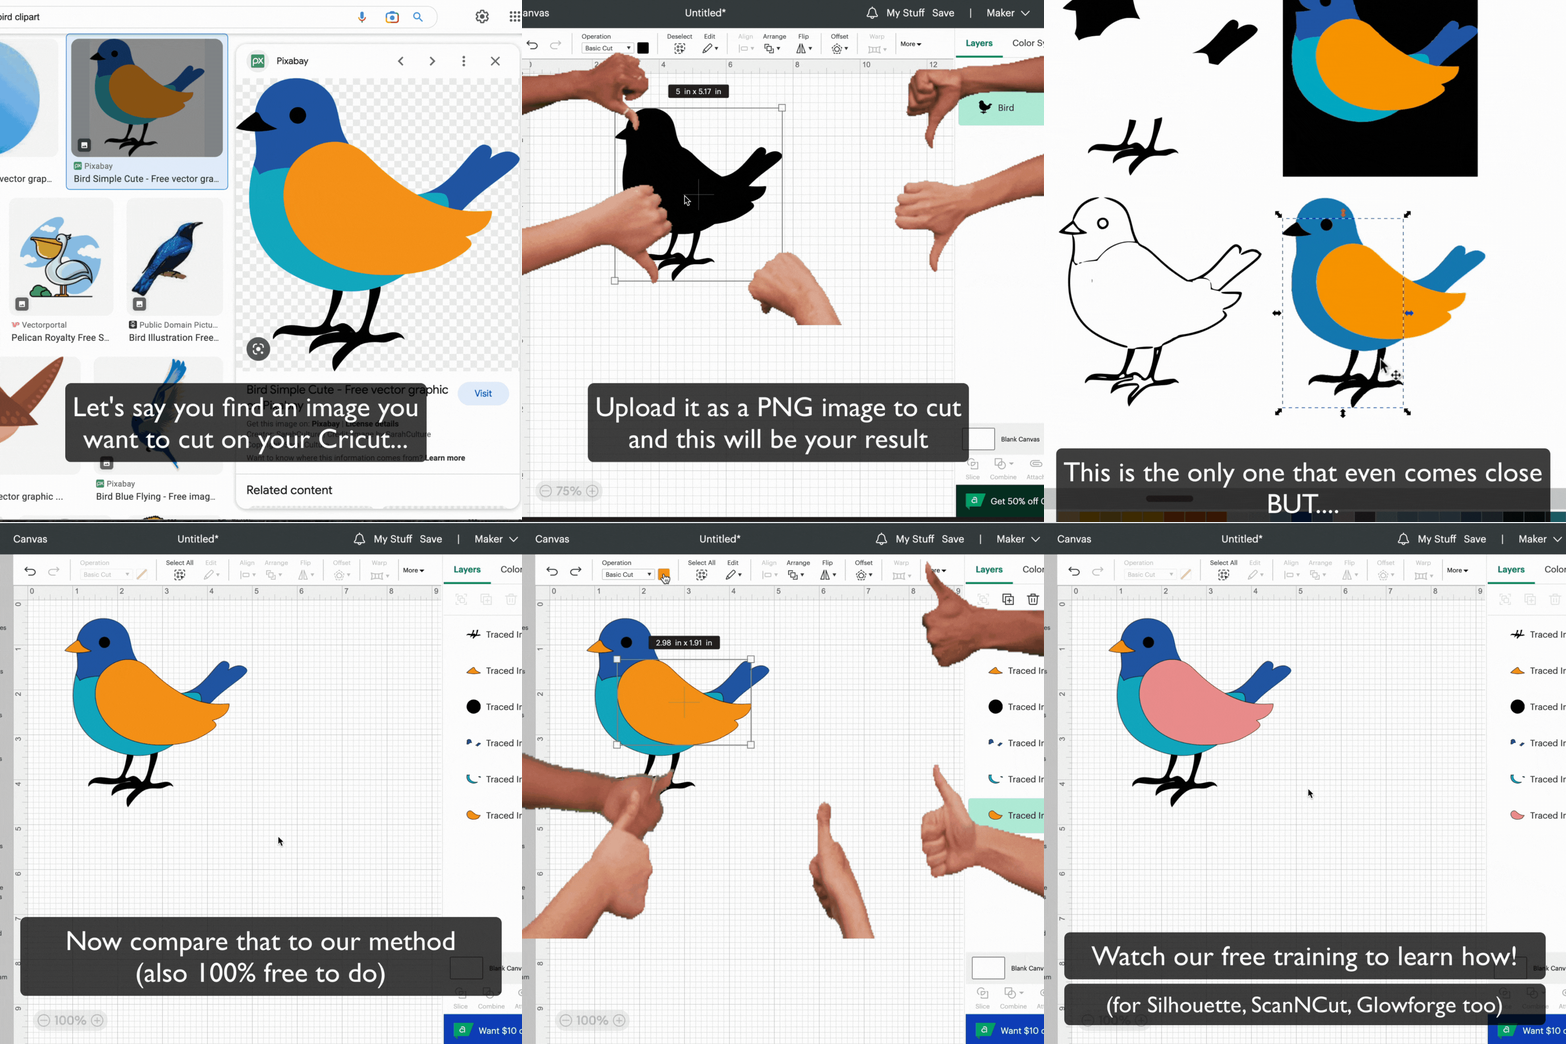
How cool was that?! Hope you loved today’s Inkscape hack and make sure to be on the look out for the next tip in your email inbox tomorrow – yay! And if you can’t wait and want to learn more, check out our free training below on the #1 skill every cutting machine crafter should know how to do!

Stop wasting your time using free online SVG converters with poor results!

Help! My Shapes Are Disappearing in Inkscape

Help! My Shapes Won’t Show Up in Inkscape

This is one of the most common troubleshooting questions I get asked, but not to worry…it’s super easy to fix!

The reason this happens is because the shapes are being set to a transparent fill so it looks like nothing is there.

Find out how to control the opacity of your color fills and quickly fix this in our video below:

Links Mentioned in Video:

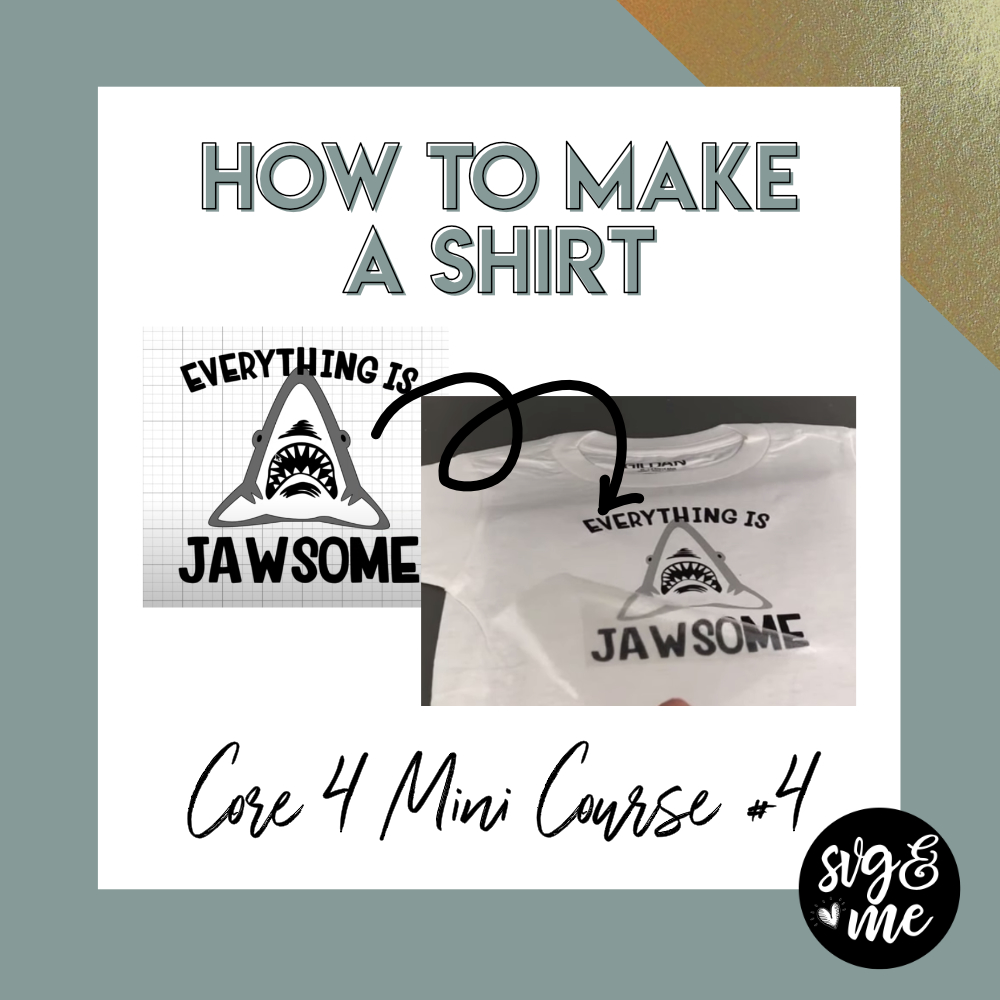
Core4 Video #4: How to Make a Layered Heat Transfer Vinyl T-Shirt for Cricut

How to Make a Shirt with Layered Heat Transfer Vinyl

Can you believe it?

This is the final video of our Free Core 4 Mini Course on the essential skills every Cricut crafter needs to know!

If you missed video #1 (cards), video #2 (vinyl decals), or video #3 (print + cut stickers) go back and check them now!

When I was starting out, I really wanted a nice straightforward and easy to follow lesson on how to make a shirt with heat transfer vinyl (also referred to as HTV or iron-on).

So, that’s exactly what I’ve created in this beginner-friendly t-shirt tutorial on how to layer HTV. Hope you find it super helpful!

Links Mentioned in Video:

I hope that you are feeling WAY more confident after completing our Core 4 Mini Course and are feeling excited about all the projects you can make with your machine!

If you’re not ready to stop here and love learning through hands-on projects like these, then you will LOVE our Mastering Your Cricut course that is on sale now!

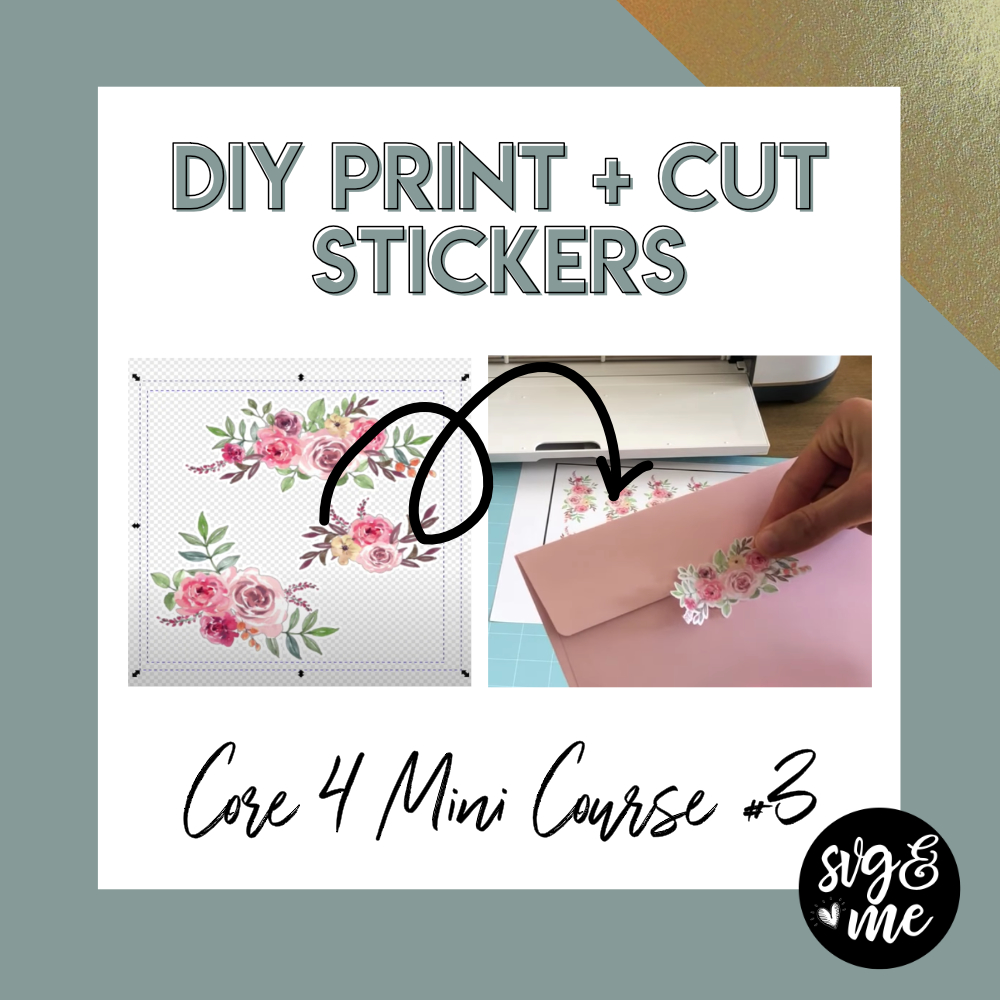
Core4 Video #3: How to Make Print and Cut Stickers for Cricut

How to Make Print & Cut Stickers

Woohoo!

We are on to video #3 of our Free Core 4 Mini Course on the essential skills every Cricut crafter needs to know!

If you missed video #1 or video #2 go back and check them now!

One of the most confusing ideas for beginners to wrap their heads around is print and cut projects…

BUT, I promise you it is so much easier than you think and you’ll be way less intimidated after following along with this lesson…

Links Mentioned in Video:

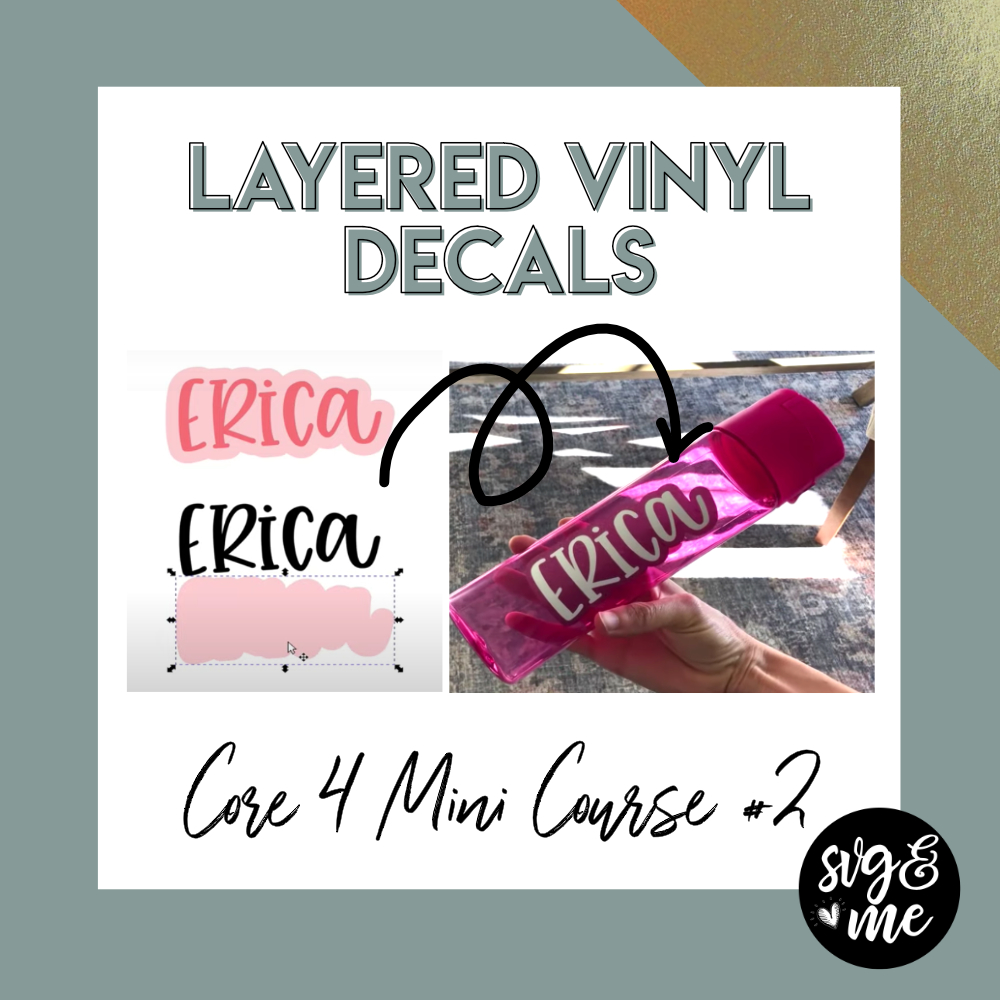
Core4 Video #2: How to Layer a Vinyl Decal

How to Make a Layered Vinyl Decal

Alrighty, folks!

We are rocking and rolling and on to video #2 of our Free Core 4 Mini Course on the essential skills every Cricut crafter needs to know!

If you missed video #1, check that out here!

For this tutorial, I’ll be showing you not only how to layer vinyl (a super important skill that I’m always being asked about), but also how to design your own decal!

Pretty cool, right?

I am super passionate about teaching crafters to design their own SVGs so they aren’t reliant on having to buy or hunt for pre-made designs all the time, so I am so excited to give you what may be your first taste of SVG design practice.

So without further ado…

Links Mentioned in Video:

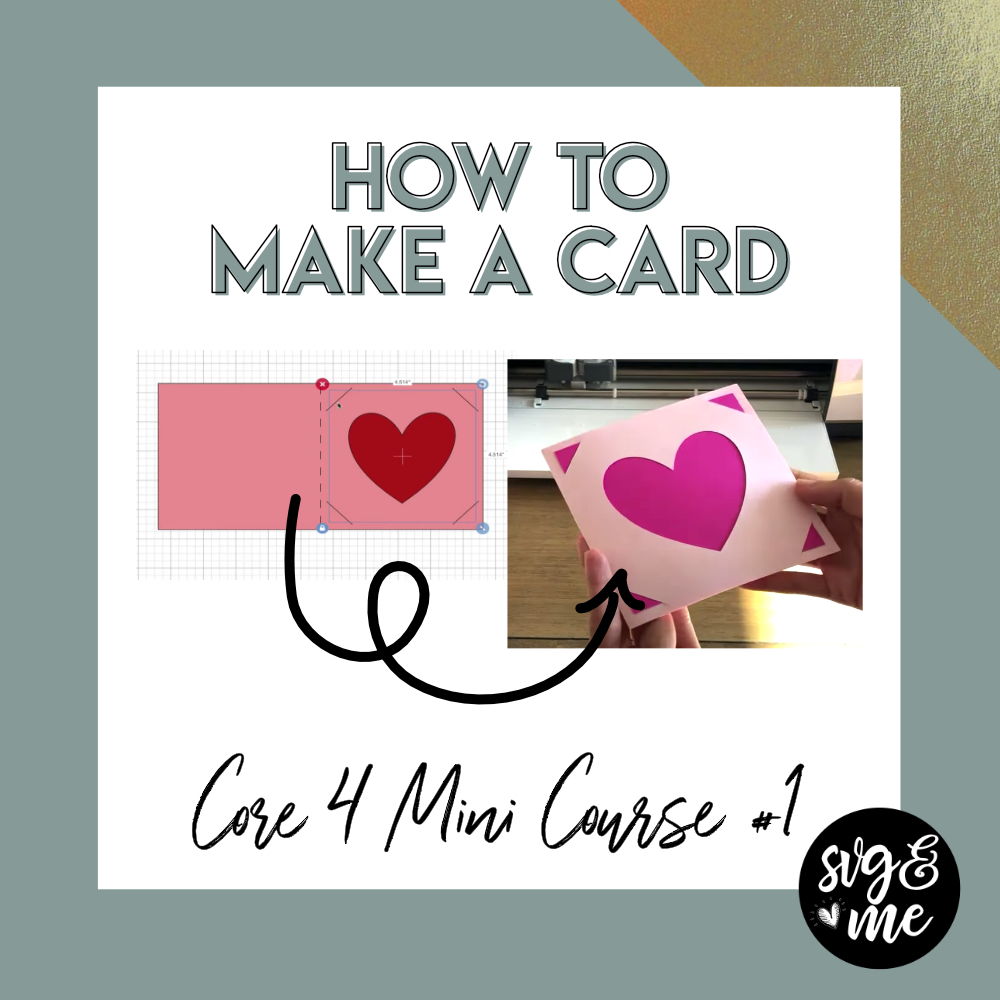
Core4 Video #1: How to Design a Card from Scratch!

How to Make a Card in Cricut Design Space

Welcome to the Free Core 4 Mini Course where I am going to teach you the 4 essential skills that every Cricut beginner needs to know when getting started!

Watch the entire series and you will be WAY ahead of most newbies and so much more confident with using your Cricut…

So, let’s get started!

This first video I am teaching you how to create a card from scratch in Design Space and then cut it on your Cricut.

Everyone from complete beginners to those who have been working with Cricut for a while have commented how valuable the tips & tricks in this video were!

Links Mentioned (contains affiliate links):

This tutorial works with Cricut Maker, Cricut Explore Air 2 and Cricut Explore Machines

For Cricut Joy: Remove score line and reduce card cover size to 8″x4″ to make compatible

How to Upload a SVG

How to Upload a SVG

First of all, you may be wondering…

What the heck is a “SVG”?

Well, it stands for “Scalable Vector Graphic” and is just a fancy name for the file type that works best with cutting machines like Cricut, Silhouette, ScanNCut, etc (almost all cutting machine types can use SVG files).

SVGs are highly preferred over JPG or PNG images for a couple reasons:

  • You can upload them as layered designs where you can easily ungroup the various pieces and cut them out of different colors.
  • They can be resized to any size without getting pixelated. Pretty cool, right?

Now that you understand what they are and why they are the best files to use, let’s walk through how to upload them into your cutting software!

In this video I will cover how to upload for all 3 of the most popular machine types: Cricut, Silhouette, and Brother ScanNCut machines:

Video Timestamps:

  • 0:00 How to Download and Unzip the SVG
  • 1:50 How to Upload to Cricut Design Space
  • 4:10 How to Upload to Silhouette Studio
  • 8:41 How to Upload to Canvas Workspace (ScanNCut)

Links Mentioned in Video (affiliate links):